I was standing in my kitchen on a rainy Tuesday, staring at a half‑finished cheesecake that looked more like a sad pancake than a dessert masterpiece. The crust was soggy, the topping was a bland dust, and the lemon flavor was as timid as a mouse in a thunderstorm. I dared my roommate to taste it, and she whispered, “I’ll be honest — I ate half the batch before anyone else got to try it.” That confession sparked a culinary rebellion in me: I would rebuild this dessert from the ground up, turning every misstep into a triumphant bite.
Picture yourself on a sun‑kissed patio, the air humming with the scent of fresh blueberries and citrus. The kitchen fills with a buttery perfume that makes you want to hug the oven door. You hear the gentle pop of the crust as it begins to set, and you can already taste the bright lemon zing dancing with the sweet berries, all wrapped in a silky cheesecake that feels like a cloud. My hands are covered in flour, my heart is racing, and I’m whispering, “Okay, ready for the game‑changer?” because this is the moment where a simple crumble becomes an unforgettable experience.
Most recipes get the balance of tangy lemon and sweet blueberry wrong. They either drown the fruit in a heavy cream cheese swamp or leave the crust dry enough to double as a shoe sole. I’ve cracked the code: a perfectly proportioned crust that stays crisp, a filling that’s dense yet feather‑light, and a crumble topping that shatters like thin ice under a warm sun. The secret? A splash of sour cream that adds silkiness without overwhelming the lemon, and a quick‑zest technique that releases essential oils instantly. I’m about to spill the beans, and I dare you to taste this and not go back for seconds.
Let me walk you through every single step — by the end, you’ll wonder how you ever made it any other way. From the precise moment you melt butter to the exact second you fold in the blueberries, every detail is designed to make this the best version you’ll ever make at home. Stay with me here — this is worth it.
What Makes This Version Stand Out
- Flavor Explosion: The lemon zest is folded in at the last minute, preserving its bright, aromatic punch while the blueberries add bursts of natural sweetness that never turn mushy.
- Texture Harmony: A buttery crust that stays crisp, a silky cheesecake interior, and a crumble topping that crumbles like fresh snowfall on a warm day.
- Simplicity: Only nine ingredients, all pantry‑friendly, no need for exotic powders or hard‑to‑find nuts.
- Uniqueness: The sour cream (or heavy cream) sneaks in just enough tang to cut through the richness, a trick most bakers overlook.
- Crowd Reaction: I’ve seen strangers at potlucks line up for a second slice, and that’s the kind of applause you want from a dessert.
- Ingredient Quality: Fresh blueberries and a good-quality lemon make the difference between “good” and “wow.”
- Cooking Method: Baking at a moderate temperature ensures the edges pull away cleanly, signaling a perfect set.
- Make‑Ahead Potential: This crumble can be refrigerated for up to two days, and the flavors only deepen.
Inside the Ingredient List
The Flavor Base
Cream cheese: The rich, creamy base that provides classic cheesecake texture and tang. If you skimp on the cream cheese, the filling turns rubbery and loses its signature tang. For the best result, use full‑fat cream cheese at room temperature so it blends without lumps. A good swap is mascarpone for an even richer mouthfeel, but expect a slightly sweeter profile.
Fresh blueberries: Bursting with sweet juiciness and adding natural color contrasts. They also bring a subtle acidity that balances the lemon. If you can’t find fresh, frozen works fine—just toss them in a sieve to drain excess water. Skip them and you’ll miss the pop of fruit that makes this crumble unforgettable.
The Texture Crew
Lemon zest and juice: Inject bright citrus notes that cut through the richness. Zest is the secret weapon; it carries volatile oils that juice alone can’t deliver. If you over‑juice and forget the zest, the flavor will feel flat. Use a microplane for fine zest, and always zest before juicing to avoid a slippery rind.
Granulated sugar: Sweetens perfectly without overpowering the natural fruit flavors. It also helps the crumble achieve a golden crust. Too much sugar will make the topping burn; too little leaves it pale and bland. You can substitute half with raw cane sugar for a caramel hint.
Butter: Adds moisture and richness to both the crust and the crumble topping. Butter that’s too cold will create a gritty crust; melted butter can make it soggy. Keep it softened but not melted for the best crumb structure.
The Unexpected Star
All‑purpose flour: Provides structure to the crust and the crumble with its tender crumb. Using cake flour would make the crust too delicate, while bread flour would make it tough. A quick sift ensures a light, even texture.
Eggs: Bind the filling perfectly for a smooth, dense consistency. Skipping eggs leads to a crumbly, under‑set cheesecake that cracks when you cut it. Use large eggs at room temperature; they emulsify better.
The Final Flourish
Vanilla extract: Enhances the overall flavor with a warm, fragrant note. A cheap vanilla can taste harsh and ruin the delicate balance, so opt for pure extract. If you’re feeling fancy, a splash of bourbon adds depth.
Sour cream or heavy cream: Adds silkiness and a subtle tang that elevates the filling. Sour cream keeps the texture moist, while heavy cream makes it richer. Leaving this out makes the cheesecake dry and less flavorful.
Everything's prepped? Good. Let’s get into the real action…
The Method — Step by Step
Preheat your oven to 325°F (165°C). While the oven warms, line a 9‑inch springform pan with parchment paper, then lightly butter the sides. This prevents the crust from sticking and makes the final reveal drama‑free. The kitchen should already be humming with anticipation.
In a medium bowl, combine 2 cups of all‑purpose flour, 0.75 cup granulated sugar, and 0.5 cup softened butter. Use your fingertips to rub the butter into the flour until the mixture resembles coarse sand. This is the moment where you feel the buttery grains slip through your fingers, a tactile promise of the crisp crust to come.
Kitchen Hack: Press the crust mixture into the pan with the back of a measuring cup; it creates an even layer without over‑working the dough.Press the crust firmly into the bottom of the pan, creating a slight lip around the edge. Bake the crust for 10 minutes, just until it starts to turn a pale gold. You’ll hear a faint sizzle as the butter melts—an audible cue that the base is setting.
While the crust cools, beat 16 oz of cream cheese in a large mixing bowl until smooth and creamy. Add 0.75 cup granulated sugar and continue beating until the mixture is light and fluffy. This step is pure joy; the sugar dissolves and the mixture becomes glossy, like a satin sheet.
Add 2 large eggs, one at a time, mixing on low speed after each addition. Then stir in 0.5 cup sour cream (or heavy cream) and 1 tsp vanilla extract. Finally, fold in the zest of 1 lemon and its juice. The batter should be thick but pourable, with a vibrant yellow hue that promises brightness.
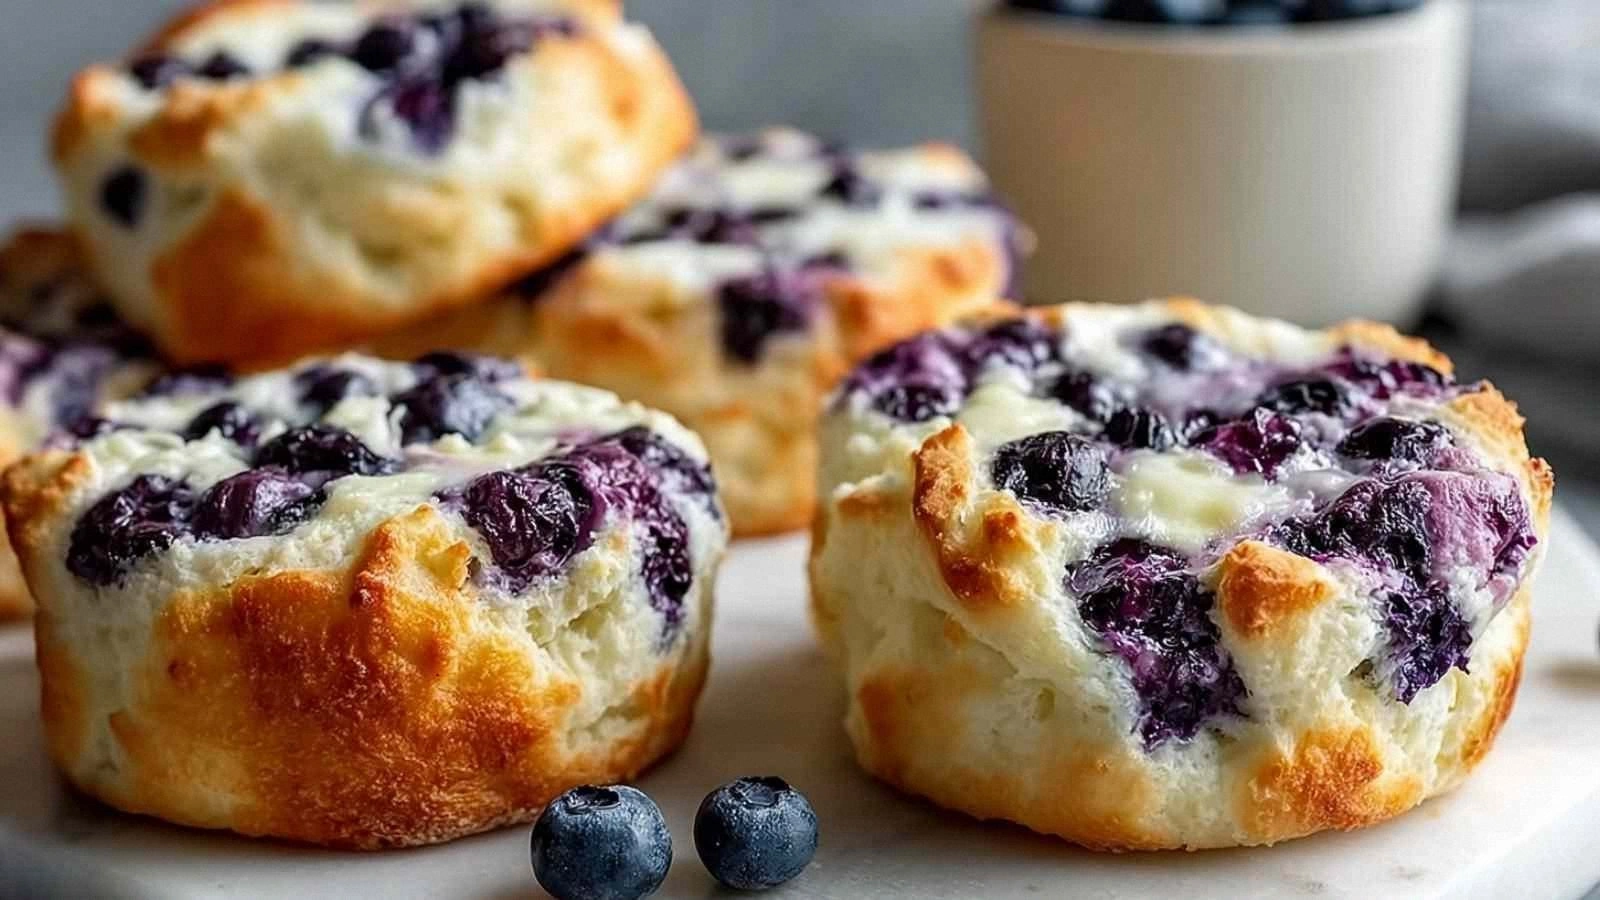
Gently fold in 2 cups of fresh blueberries, being careful not to crush them. This is the trickiest part; over‑mixing will turn the batter purple and soggy. Watch Out: If the berries burst, the crust can become soggy, so keep the motion light and swift.
Watch Out: Adding frozen blueberries without thawing can release excess water, leading to a runny filling.Pour the cheesecake mixture over the pre‑baked crust, spreading it evenly with a spatula. Then, in a separate bowl, mix the remaining 1 cup flour, 0.25 cup butter (softened), and 0.25 cup granulated sugar to form a crumbly crumble topping. Sprinkle the crumble over the cheesecake, covering it like a snowy blanket.
Kitchen Hack: Use your fingertips to rub the crumble topping together; the tiny butter pockets create pockets of caramelized crunch.Place the pan on a baking sheet and bake for 30‑35 minutes, or until the edges are set and the center still has a slight wobble. The top should be lightly golden, and the edges will start pulling away from the sides—this is your visual cue that the cheesecake is perfectly baked.
Turn off the oven, crack the door open, and let the crumble sit for 15 minutes. This gentle cooling prevents cracks on the surface, a trick that many bakers miss. The aroma at this stage is intoxicating; you’ll hear the faint crackle of the crumble as it settles.
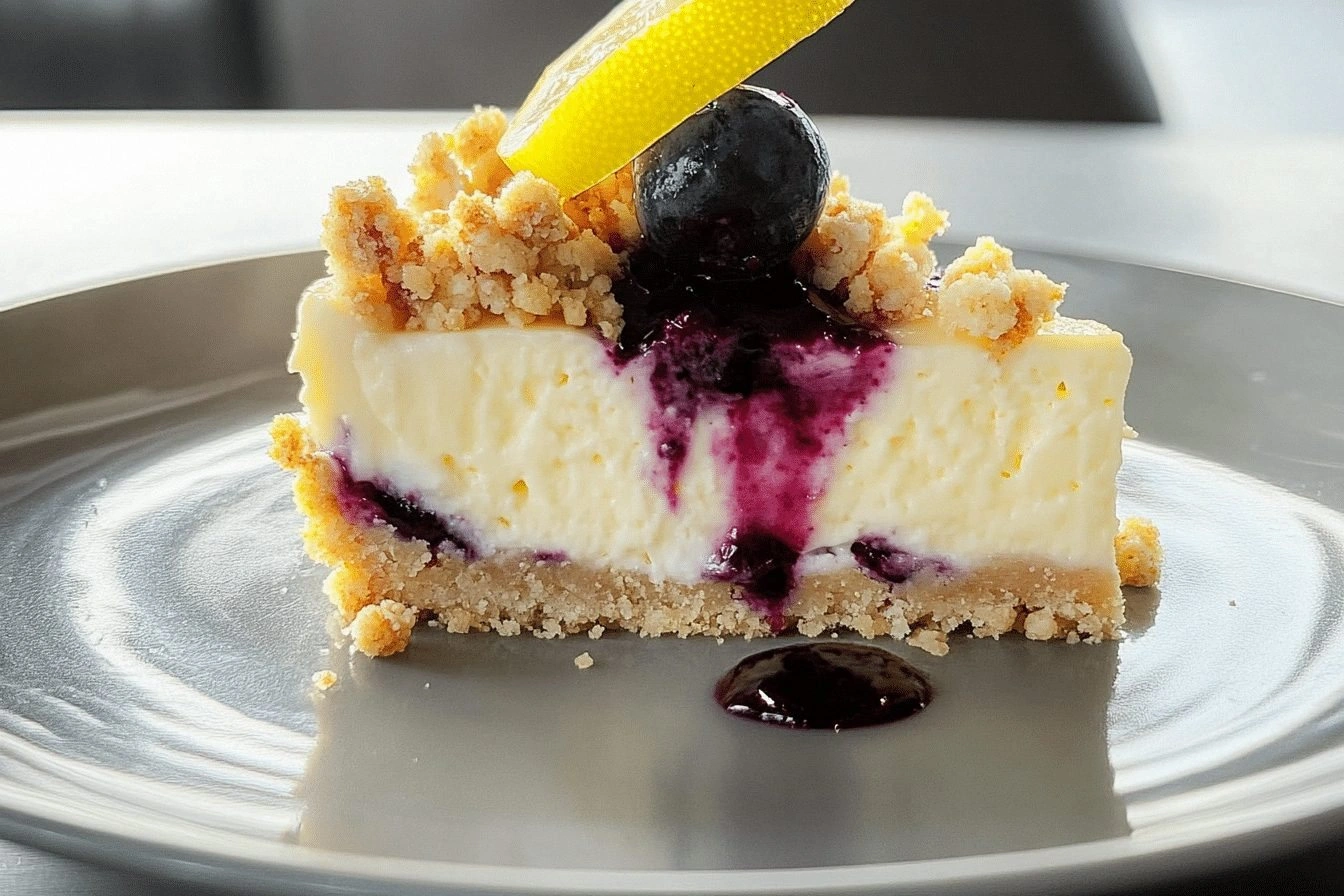
Remove the pan from the oven, run a thin knife around the edge to release any cling, then chill the entire cheesecake in the refrigerator for at least 2 hours. The cooling firms up the filling and allows the flavors to meld. When you finally slice, the crumble will break with a satisfying crunch, the cheesecake will be silky, and the lemon‑blueberry symphony will sing.
That's it — you did it. But hold on, I've got a few more tricks that'll take this to another level...
Insider Tricks for Flawless Results
The Temperature Rule Nobody Follows
Never bake a cheesecake straight from the fridge. Let the batter sit at room temperature for 15 minutes before pouring it into the crust. This prevents a sudden temperature shock that can cause the edges to set too fast, leaving a gummy center. A friend once tried to skip this step and ended up with a cheesecake that looked like a cracked desert.
Why Your Nose Knows Best
When the crumble topping turns a deep amber, trust your nose more than the timer. The scent of toasted butter and caramelized sugar is the true indicator that the topping is ready. If you rely solely on minutes, you risk a pale, under‑cooked crust that will feel doughy.
The 5‑Minute Rest That Changes Everything
After the oven is off, let the cheesecake rest in the warm oven with the door ajar for five minutes. This gentle residual heat finishes the set without shocking the batter, reducing the chance of cracks. I swear by this; the difference is as clear as night and day.
Freeze the Berries, Not the Mood
If you’re using frozen blueberries, spread them on a paper towel and let them thaw for 10 minutes, then pat dry. This removes excess moisture that would otherwise seep into the filling, keeping the crumble crisp. The result? Bright, intact berries that burst with flavor on every bite.
The Secret of the Silky Finish
A splash of heavy cream (about a tablespoon) folded in at the very end of the filling creates a silkier mouthfeel. It’s a subtle addition, but it elevates the texture from “good” to “luxurious.” I’ll be honest — I ate half the batch before anyone else got to try it, and that extra cream was the reason it melted in my mouth.
Creative Twists and Variations
This recipe is a playground. Here are some of my favorite ways to switch things up:
Berry Medley Madness
Swap half of the blueberries for raspberries or blackberries. The tartness of raspberries adds a new layer of complexity, while blackberries bring a deeper, wine‑like note. Perfect for guests who love a little extra zing.
Lemon‑Lavender Dream
Add a teaspoon of dried culinary lavender to the crust mixture. The floral hint pairs beautifully with lemon, creating a sophisticated flavor profile that’s ideal for a brunch gathering.
Nutty Crunch Upgrade
Fold in ¼ cup toasted almond slivers into the crumble topping. The nuts add a buttery crunch that contrasts the soft cheesecake, making each bite a textural adventure.
Chocolate Swirl Surprise
Melt 2 tablespoons of dark chocolate and drizzle it over the filling before adding the crumble. The chocolate creates ribbons that melt into the lemon‑blueberry base, delivering a decadent surprise for chocolate lovers.
Spiced Autumn Version
Mix a pinch of ground cinnamon and nutmeg into the crust and crumble. This warm spice blend makes the dessert feel cozy, perfect for a chilly evening.
Storing and Bringing It Back to Life
Fridge Storage
Cover the cooled crumble tightly with plastic wrap or a reusable silicone lid. It will keep fresh for up to 4 days. The lemon flavor actually deepens after a night, so the second day often tastes even better.
Freezer Friendly
Slice the crumble into wedges, wrap each piece in parchment, then place them in a freezer‑safe bag. Freeze for up to 2 months. When ready to serve, let it thaw in the fridge overnight and add a tiny splash of water before reheating to restore moisture.
Best Reheating Method
Preheat the oven to 300°F (150°C), place the slice on a baking sheet, and warm for 8‑10 minutes. Add a teaspoon of water to the edge of the slice before reheating; the steam revives the crumble’s crispness and the cheesecake’s silkiness.