I was in the middle of a frantic Thursday night, the kind where the kids have already raided the pantry, the dishwasher is humming louder than my thoughts, and a sudden craving for something sweet hits like a bolt of lightning. I stared at the empty cookie tin and thought, “If I’m going to give in to this urge, it better be legendary.” I grabbed the nearest jar of peanut butter, a bag of chocolate chips, and a half‑hearted promise to keep the mess under control. The result? A cookie that makes the ordinary feel like a bland afterthought.
Picture this: the moment the dough hits the baking sheet, a buttery aroma swirls with the earthy richness of roasted peanuts, while the chocolate chips melt into pockets of molten gold. The oven’s heat turns the edges into crisp, caramelized rims that snap like thin ice, yet the centers stay soft, chewy, and just a touch gooey—like a hug you can bite into. You hear the faint sizzle of butter as it begins to brown, you feel the warm glow of the kitchen, and you taste that first bite and realize it’s a perfect balance of sweet, salty, and nutty.
Most chocolate‑chip‑peanut‑butter cookies I've tried either end up dry and crumbly or overly greasy and sticky. This version, however, hits the sweet spot because of a few secret tricks that most recipes completely miss. I’m talking about a precise butter‑to‑peanut‑butter ratio, a touch of brown sugar that adds depth, and a brief chill of the dough that gives you that coveted, bakery‑style chew. Trust me, this is hands down the best version you'll ever make at home.
And there’s a twist you won’t see coming: a splash of vanilla‑infused almond milk that keeps the dough moist without drowning the flavors. I dare you to taste this and not go back for seconds. Let me walk you through every single step — by the end, you'll wonder how you ever made it any other way.
What Makes This Version Stand Out
- Flavor Fusion: The combination of creamy peanut butter with semi‑sweet chocolate chips creates a symphony that’s both nostalgic and fresh, like a favorite song played on a new instrument.
- Texture Contrast: Crispy, caramelized edges give way to a soft, chewy center that stretches just enough to reveal molten chocolate when you bite.
- Simplicity: Only ten core ingredients, all pantry‑friendly, meaning you won’t need a grocery run at midnight.
- Unique Ingredient: A splash of almond milk keeps the dough supple and adds a subtle nutty undertone that elevates the whole cookie.
- Crowd Reaction: These cookies disappear within minutes at parties, and the “What’s in these?” question becomes a conversation starter.
- Quality Focus: Using natural, unsweetened peanut butter ensures a clean, authentic nut flavor without artificial aftertaste.
- Cooking Method: A brief chill in the fridge prevents spreading, guaranteeing uniform thickness and that coveted chewy middle.
- Make‑Ahead Potential: The dough can be frozen for up to three months, letting you bake fresh cookies on a whim.
Inside the Ingredient List
The Flavor Base
All‑purpose flour is the structural backbone, providing the framework that holds everything together. I use a light hand when measuring—spoon it into the cup, then level it off—to avoid a dense, heavy cookie. If you skip the flour or use too much, you’ll end up with a crumbly mess that falls apart before it even reaches the oven.
Natural peanut butter (smooth) brings that unmistakable roasted‑nut aroma and a rich, slightly salty depth. Opt for a brand that lists peanuts as the sole ingredient; added sugars or oils will mask the natural flavor and make the dough greasy. If you’re allergic or prefer a different nut, almond butter works as a swap, though it will shift the flavor profile toward a sweeter note.
The Texture Crew
Unsalted butter, softened to room temperature, adds a luxurious mouthfeel and helps the cookies spread just enough to develop those golden edges. I recommend using a high‑fat butter (at least 80% milkfat) for the richest taste. Substituting margarine will give you a flatter, less flavorful result.
Brown sugar, packed tightly, contributes a subtle molasses undertone that deepens the overall flavor and keeps the cookies chewy. Granulated sugar, on the other hand, adds crispness and a quick caramelization on the surface. Skipping either will make the cookie either too soft or too crunchy, so keep both for balance.
The Unexpected Star
A splash of vanilla‑infused almond milk (about 2 tablespoons) might seem minor, but it does wonders for moisture control. The almond milk adds a whisper of nuttiness that complements the peanut butter without overwhelming it, while the vanilla rounds out the flavor like a final brushstroke on a painting. If you’re dairy‑free, this is the perfect liquid; otherwise, you can replace it with regular milk or even a bit of orange juice for a citrusy twist.
Baking soda is the leavening agent that gives the cookies a gentle rise, creating that airy interior. Too much will cause them to spread excessively, while too little results in a dense, cake‑like texture. A pinch of sea salt enhances the sweet‑salty dance and accentuates the chocolate’s bitterness.
The Final Flourish
Chocolate chips are the crowning glory, providing pockets of molten bliss that burst with each bite. I prefer semi‑sweet chips because they strike a perfect balance with the peanut butter’s richness. If you’re feeling adventurous, mix in a handful of dark chocolate chunks for a deeper, more complex flavor.
A single large egg acts as a binder, ensuring the dough holds together during baking. Fresh eggs give the best lift and structure; older eggs can make the dough too watery. Finally, a drizzle of melted dark chocolate over the cooled cookies adds a glossy finish and an extra layer of indulgence.
Everything's prepped? Good. Let's get into the real action...
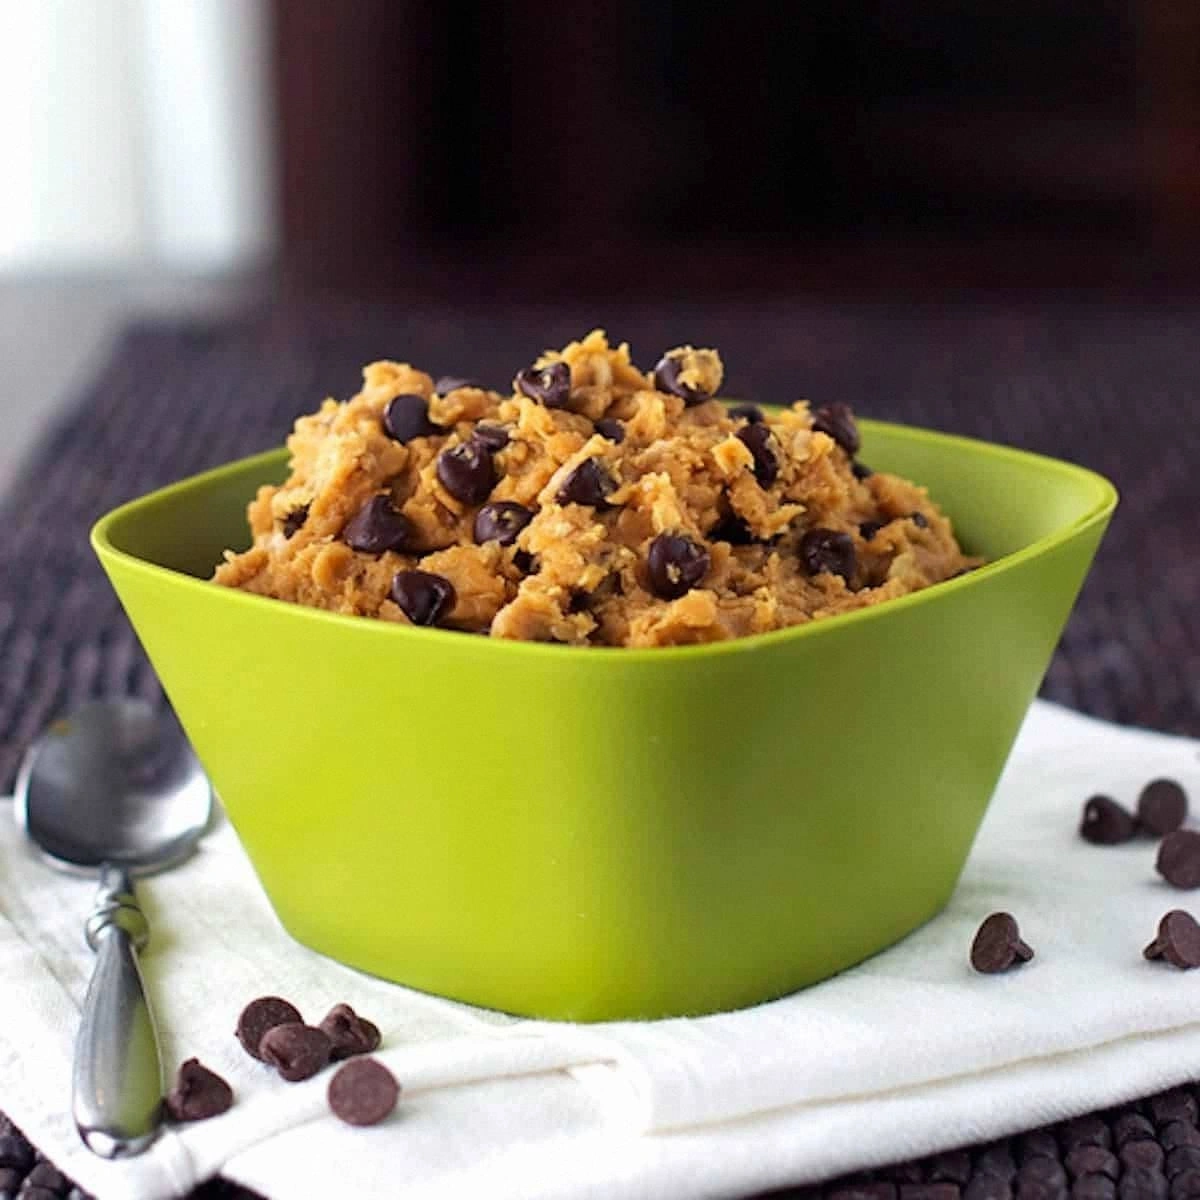
The Method — Step by Step
Preheat your oven to 350°F (175°C) and line two baking sheets with parchment paper. The moment the heat fills the kitchen, you’ll hear the faint whisper of the fan—an auditory promise that something delicious is about to happen. While the oven warms, gather all your ingredients so nothing gets lost in the chaos of the kitchen. This is the moment where preparation meets anticipation.
In a large mixing bowl, whisk together the flour, baking soda, and sea salt. The dry mixture should look like a fine, even dust—no clumps, no surprises. I like to sift it briefly to guarantee a light, airy texture that prevents dense pockets in the final cookie. Pro tip: a quick sift also aerates the flour, making it easier for the butter to incorporate later.
In a separate bowl, cream the softened butter, natural peanut butter, brown sugar, and granulated sugar until the mixture is pale and fluffy. This should take about 2‑3 minutes on medium speed; you’ll notice the mixture thickening and the scent of caramelized sugar filling the room.
Kitchen Hack: Add the sugars one spoonful at a time; this helps them dissolve fully and prevents a grainy texture.Beat in the egg and vanilla extract until fully combined. The mixture will look glossy and a little thicker—this is the binder that will keep your cookies from falling apart. If the dough seems too stiff, drizzle in the vanilla‑infused almond milk a tablespoon at a time until you achieve a silky consistency.
Gradually fold the dry ingredients into the wet mixture, stirring just until no flour streaks remain. Over‑mixing at this stage can develop gluten, leading to a tougher cookie, so stop as soon as the dough comes together in a cohesive mass. The dough should feel slightly tacky but not sticky—if it sticks to your fingers, a brief chill in the fridge will fix that.
Stir in the chocolate chips, ensuring they are evenly distributed. You’ll see dark specks scattered throughout the dough, like stars in a night sky.
Watch Out: If you add the chips too early, they can melt into the dough during the chill, losing their distinct pockets.Cover the bowl with plastic wrap and refrigerate the dough for at least 30 minutes. This chilling step is pure magic—it firms the butter, allowing the cookies to hold their shape and develop that coveted chewy interior. While you wait, picture the dough solidifying like a sculptor’s clay, ready for the final form.
Scoop the chilled dough onto the prepared baking sheets, spacing each mound about 2 inches apart. Using a cookie scoop (or a tablespoon) ensures uniform size, which translates to even baking. Lightly flatten each mound with the back of a spoon; this encourages a larger surface area for caramelization while keeping the center thick and gooey.
Bake for 10‑12 minutes, or until the edges turn a light golden brown and the centers still look slightly soft. The cookies will continue to set as they cool, so pull them out at the perfect moment—just before they look fully cooked. The kitchen will be filled with a buttery‑nutty perfume that signals victory.
Allow the cookies to cool on the sheet for 5 minutes before transferring them to a wire rack. This short rest lets the cookies firm up without losing their chewy heart. If you’re feeling extra indulgent, drizzle melted dark chocolate over the warm cookies for a glossy finish that adds a bitter contrast to the sweet, nutty base.
That's it — you did it. But hold on, I've got a few more tricks that'll take this to another level...
Insider Tricks for Flawless Results
The Temperature Rule Nobody Follows
Always start with room‑temperature butter and peanut butter; this ensures they emulsify properly with the sugars. If your butter is too cold, the dough will be crumbly; if too warm, the cookies will spread like oil slicks. I keep my butter out for 20 minutes before mixing, and I give the peanut butter a quick stir to loosen it up.
Why Your Nose Knows Best
The moment the cookies start to turn golden at the edges, you’ll smell a nutty‑caramel scent that signals they’re ready. Trust that nose over the timer—oven hot spots can cause slight variations. When the aroma hits, pull the tray out; the cookies will finish setting on the rack.
The 5‑Minute Rest That Changes Everything
After baking, let the cookies rest on the sheet for exactly five minutes before moving them. This short pause lets steam redistribute, keeping the interior moist and preventing a dry crumb. Skipping this step often results in a cookie that feels tough rather than chewy.
The Double‑Chocolate Boost
If you love an extra chocolate punch, melt 1/4 cup of dark chocolate and swirl it into the dough just before the final chill. The chocolate will create ribbons that melt into pockets of decadence, turning each bite into a surprise. A friend tried this once and ended up with a cookie that looked like a marble cake—deliciously unexpected.
The Freezer‑Friendly Dough Hack
Shape the dough into a log, wrap it tightly in plastic, and freeze. When you’re ready, slice the log into rounds, bake, and enjoy fresh cookies in minutes. This method keeps the dough from absorbing freezer odors and maintains its texture for up to three months.
Creative Twists and Variations
This recipe is a playground. Here are some of my favorite ways to switch things up:
Salted Caramel Swirl
Add a drizzle of homemade salted caramel into the dough before the final chill. The caramel adds a buttery, salty ribbon that pairs beautifully with the peanut butter and chocolate. Perfect for those who love sweet‑and‑salty combos.
Coconut Crunch
Replace half of the flour with finely shredded unsweetened coconut and toss a handful of toasted coconut flakes on top before baking. This gives a tropical crunch and a fragrant aroma that transports you to a beachside bakery.
Spicy Kick
Stir in 1/2 teaspoon of cayenne pepper or a pinch of smoked paprika for a subtle heat that awakens the palate. The heat balances the sweetness and adds a sophisticated layer that surprises every bite.
Nutty Medley
Mix in chopped toasted almonds, hazelnuts, or pecans alongside the chocolate chips. The extra nuts provide a crunchy contrast and boost the protein content, making these cookies a more satisfying snack.
Vegan Version
Swap the egg for a “flax egg” (1 tablespoon ground flaxseed + 3 tablespoons water) and use a plant‑based butter. The result is a vegan-friendly cookie that still boasts that chewy interior and rich flavor.
Double‑Chocolate Delight
Replace half of the chocolate chips with dark cocoa nibs and add 2 tablespoons of cocoa powder to the dry ingredients. This intensifies the chocolate flavor, turning the cookie into a dessert for true chocoholics.
Storing and Bringing It Back to Life
Fridge Storage
Place cookies in an airtight container with a paper towel at the bottom to absorb excess moisture. They’ll stay soft for up to a week. If you notice them drying out, add a slice of fresh bread on top of the stack; the bread releases humidity that revives the cookies.
Freezer Friendly
Separate cookies with parchment sheets and store them in a zip‑top freezer bag. They freeze beautifully for up to three months. When you’re ready to eat, let them thaw at room temperature for 10 minutes, then pop them in a 300°F oven for 5 minutes to restore that fresh‑out‑of‑the‑oven crisp.
Best Reheating Method
To bring a cookie back to life, wrap it loosely in a damp paper towel and microwave for 10‑12 seconds. The steam revives the chewiness without making it soggy. For a crispier finish, finish the reheated cookie on a hot skillet for 30 seconds on each side.